I recently mentioned that my current research project is a subset of AADL and an associated Eclipse plug-in which translates from that subset into Java. Since both my advisors and I are interested in following recommended software engineering practices, I needed to figure out how to programmatically test my plug-in’s functionality. Unfortunately, testing an Eclipse plug-in can be sort of complicated, since some of your code may depend on Eclipse itself — either Eclipse services or the UI — running. Fortunately, Eclipse’s Plug-in Development Environment (PDE) provides a launcher for JUnit tests that makes the process more straightforward.
The functionality I relied on in OSATE2 (the AADL-focused Eclipse distribution) was, unfortunately, deeply tied to the UI thread. This meant that I needed to launch Eclipse as part of my test suite, initialize the project(s) I needed for compilation, and then run my tests. Unlike some of the other tasks I’d eventually work on, I didn’t find any super-clear tutorials on this stuff, so while it wasn’t super difficult, I had to sort of hack my way through it.
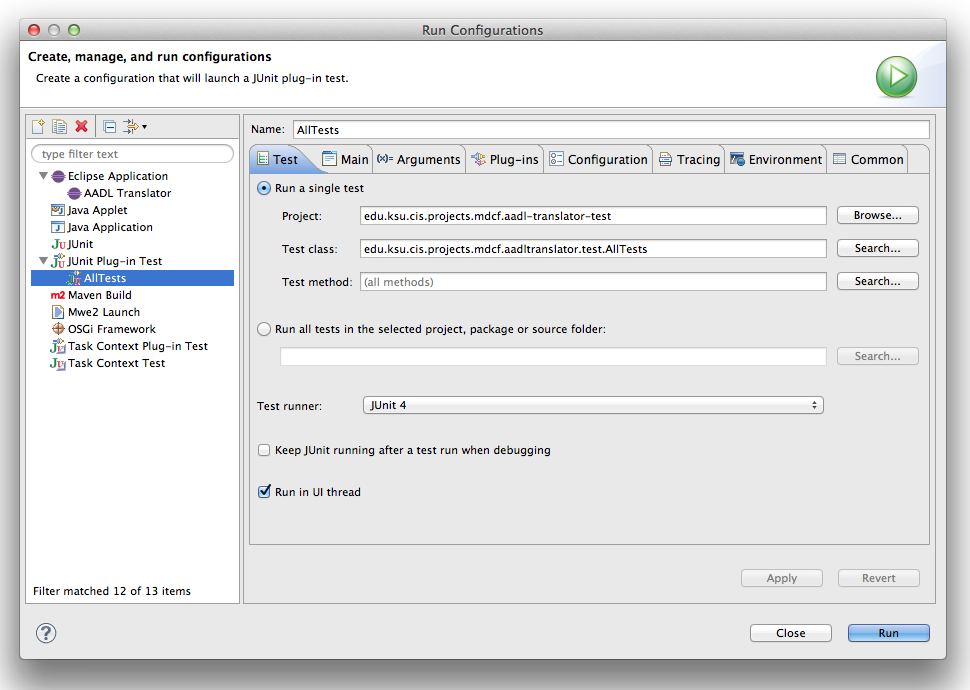
The testing vision
At a high-level, the basic outline of what I needed to do was (steps 2-4 are repeated for each test):
- Initialize the environment (using JUnit’s @BeforeClass annotation)
- Execute a command (which creates a built-in project) in the running version of Eclipse provided by the launcher
- Create a test project
- Add XText and AADL natures to the project
- Mark the built-in project as a dependency of the test project
- Create folders and copy in source files
- Build the project
- Run pre-test setup (using JUnit’s @Before annotation)
- Run the test (using JUnit’s @Test annotation)
- Specify which files are needed for this test
- Run the translator on the specified files
- Inspect the model and compare it to expected values
- Run post-test teardown (using JUnit’s @After annotation)
I ended up structuring my test suite so that one class contained all the initialization logic common to each test, and then dividing the actual tests between a number of files depending on their functionality. This is pretty easy to do with the @RunWith and @Suite.SuiteClasses JUnit annotations:
|
1 2 3 4 5 6 7 8 9 10 11 12 13 14 |
@RunWith(Suite.class) @Suite.SuiteClasses({ // Model Tests TestClass1.class, TestClass2.class, TestClass3.class, }) public class AllTests { // This class can be empty if no initialization is needed/shared @BeforeClass public static void initialize() { // Initialization logic common to all tests here } } |
Lessons Learned
As I built and tweaked my test suite, I learned a number of things that may help other people working on plug-in tests:
- In my list of steps, steps 1 and 2 should not be combined. This is because OSATE2 uses an XtextResourceSet to store the files contained in a project, and that class does substantial behind-the-scenes caching. I was unable to get around this caching, and I probably shouldn’t even have been trying to defeat the optimizations in the first place — there’s no reason to recreate the various files that are re-used between tests.
- All AADL projects can use certain built-in properties. These properties are typically created by running an OSATE2 command (via a right-click menu). I found the command’s id by sifting through the various OSATE2 component’s plugin.xml files, and ran it (this code will need to be within a try / catch block):
123456IHandlerService handlerService = (IHandlerService) PlatformUI.getWorkbench().getService(IHandlerService.class);handlerService.executeCommand(“org.osate.xtext.aadl2.ui.resetpredeclaredproperties”,null);
The downside to this code is that it relies on the Eclipse UI. The PDE’s JUnit Plug-In test launch configuration is smart in that it won’t launch a UI if it doesn’t need to, so using the UI should be avoided if possible. Unfortunately, the functionality of this command couldn’t be recreated without getting seriously hack-y. - Forgetting step 1.3 (adding project natures) will lead to some really screwy errors. Natures are easy to add — using IProjectDescription — once you have their ids, which are again found by sifting through plugin.xml files:
1234567891011121314151617testProject = ResourcesPlugin.getWorkspace().getRoot().getProject(“TestProject”);String[] natureIDs = new String[] { “org.osate.core.aadlnature”,“org.eclipse.xtext.ui.shared.xtextNature” };IProject[] referencedProjects = new IProject[] { pluginResources };if (!testProject.isAccessible()) {testProject.create(null);testProject.open(null);}IProjectDescription testpd = testProject.getDescription();testpd.setNatureIds(natureIDs);testpd.setReferencedProjects(referencedProjects);testProject.setDescription(testpd, null); - Same thing with not compiling the project — it sounds basic, but since my translator doesn’t explicitly require Xtext validation / compilation, I didn’t know that it would be required. Fortunately, once the project is defined, it’s just a single command:
12testProject.build(IncrementalProjectBuilder.INCREMENTAL_BUILD, null);
The full testing package is available over on github, and most of the interesting initialization code can be found in AllTests.java. Let me know if you have any questions or suggestions in the comments below!
Leave a Reply to Yu Jin Kim Cancel reply